Configuration
The configuration for the application consists of the files in the sendit/settings folder. The files that need attention are secrets.py and config.py.
Application Secrets
First make your secrets.py like this:
cp sendit/settings/bogus_secrets.py sendit/settings/secrets.py
vim sendit/settings/secrets.py
Once you have your secrets.py, it needs the following added:
SECRET_KEY: Django will not run without one! You can generate one hereDEBUG: Make sure to set this toFalsefor production.
“anonymization” (Coding)
For config.py you should first configure settings for the anonymization process, which is everything that happens after images are import, but before sending to storage. These steps broadly include:
- extraction of header data from the image
- preparation of data to send to the DASHER REST API
- checking and scrubbing of pixel data
and coincide with the following variables in config.py:
# If True, we will have the images first go to a task to retrieve fields to anonymize
ANONYMIZE_RESTFUL=True
If ANONYMIZE_RESTFUL is False, we skip this task, and the batch is sent to the next task (or tasks) to send to different storage. You should not do this without careful thought because you cannot send identified data to Google Cloud. If ANONYMIZE_RESTFUL is True, the batch is first put in the queue to be anonymized, and then upon receival of the identifiers, the batch is put into the queue to be sent to storage.
# If True, scrub pixel data for images identified by header "Burned in Annotation" = "NO"
ANONYMIZE_PIXELS=False
Important the pixel scrubbing is not yet implemented, so this variable will currently only check for the header, and alert you of the image, and skip it. Regardless of the setting that you choose for the variable ANONYMIZE_PIXELS the header will always be checked. If you have pixel scrubbing turned on (and it’s implemented) the images will be scrubbed, and included. If you have scrubbing turned on (and it’s not implemented) it will just yell at you and skip them. The same thing will happen if it’s off, just to alert you that they exist.
Next, you likely want a custom filter applied to whitelist (accept no matter what), greylist (not accept, but in the future know how to clean the data) and blacklist (not accept). Currently, the deid software applies a default filter to filter out images with known burned in pixels. If you want to add a custom file, currently it must live with the repository, and is referenced by the name of the file after the deid. You can specify this string in the config file:
# An additional specification for white, black, and greylisting data
# If None, only the default (for burned pixel filtering) is used
# Currently, these live with the deid software, eg:
# https://github.com/pydicom/deid/blob/development/deid/data/deid.dicom.xray.chest
# would be referenced with STUDY_DEID="dicom.xray.chest"
STUDY_DEID=None
and if you leave as None, the default filters will be used. Anything that passes through the filter, or belongs to the whitelist, is deemed to be clean.
# AccessionNumber and SOPInstanceUID:
# These are default for deid, but we can change that here
ENTITY_ID="AccessionNumber"
ITEM_ID="SOPInstanceUID"
CUSTOM_ENTITY_ID="DCM Accession #"  # if the string index of the
                                    # entity id is not appropriate,
                                    # set a custom one here
Note that the fields for ENTITY_ID and ITEM_ID are set to the default of deid, but I’ve added them here in case it ever needs to be changed. Additionally, note that if you want the string that designates the “source_id” for the entity to be something other than it’s index (eg AccessionNumber) you can set that here. If not, define as None. For all functions provided by deid, remember that they can be modified to use different endpoints, or do different replacements in the data. For more details about the anonymization functions, see docs/anonymize.md
Storage
The next set of variables are specific to storage, which is the final step in the pipeline.
# Should we send to Google at all?
SEND_TO_GOOGLE=True

# Google Cloud Storage Bucket (must be created)
GOOGLE_CLOUD_STORAGE='radiology'
GOOGLE_STORAGE_COLLECTION=None # define here or in your secrets
GOOGLE_PROJECT_NAME="project-name" # not the id, usually the end of the url in Google Cloud
Note that the storage collection is set to None, and this should be the id of the study (eg, the IRB). For Google Storage, this collection corresponds with a Bucket. For BigQuery, it corresponds with a database (and a table of dicom). If this is set to None, it will not upload. Also note that we derive the study name to use with Dasher from this bucket. It’s simply the lowercase version of it. This means that a GOOGLE_STORAGE_COLLECTION of IRB12345 maps to a study name irb12345.
Note that this approach isn’t suited for having more than one study - when that is the case, the study will likely be registered with the batch. Importantly, for the above, there must be a GOOGLE_APPLICATION_CREDENTIALS filepath exported in the environment, or it should be run on a Google Cloud Instance (unlikely in the near future).
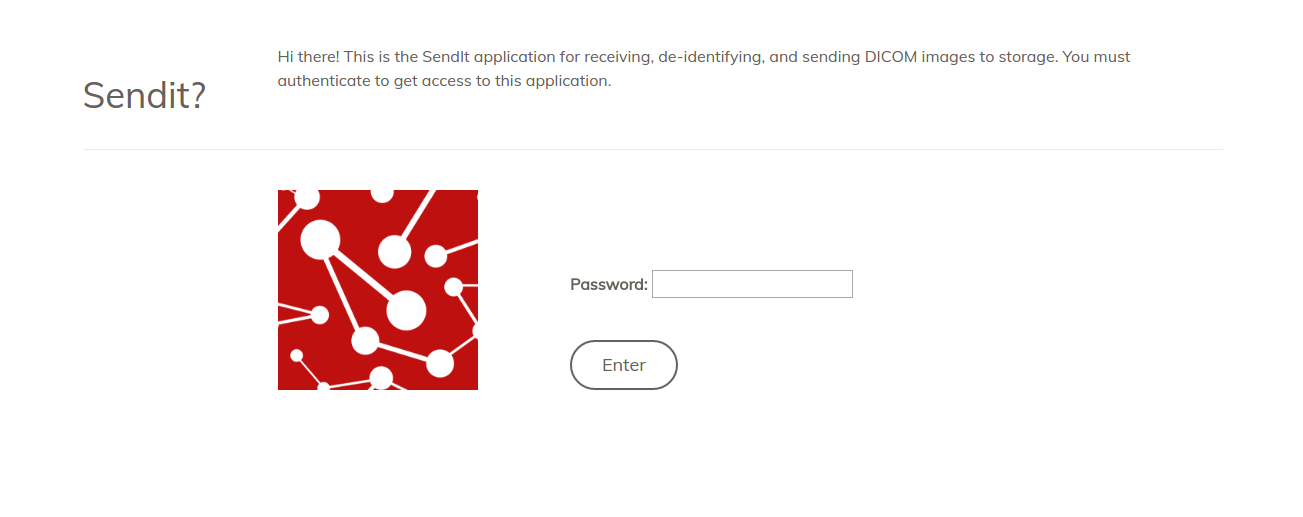
Authentication
If you look in sendit/settings/auth.py you will see something called lockdown and that it is turned on:
Dasher
Dasher requires a token and refresh token (see Stanford Open Modules for details) and you need to put the path to that file in the base folder, which is mapped to the image. This is also a setting in the config:
# These credentials are required for the DASHER endpoint
STANFORD_APPLICATION_CREDENTIALS='/code/.stanford'
For the above example, the hidden file .stanford has the json data structure defined for the DASHER api.
Google Cloud
The same is true for Google Cloud. If you aren’t on an instance, you need to define application credentials:
# These credentials are required for Google
GOOGLE_APPLICATION_CREDENTIALS='/code/.google'
os.environ['GOOGLE_APPLICATION_CREDENTIALS'] = GOOGLE_APPLICATION_CREDENTIALS
This section is also in the configuration file.
Application
# Django Lockdown
LOCKDOWN_ENABLED=True
This basically means that the entire site is locked down, or protected for use (from a web browser) with a password. It’s just a little extra layer of security.
You can set the password by defining it in your sendit/settings/secrets.py:
LOCKDOWN_PASSWORDS = ('mysecretpassword',)
Note that here we will need to add notes about securing the server (https), etc. For now, I’ll just mention that it will come down to changing the nginx.conf and docker-compose.yml to those provided in the folder https.
Reading Input
You need to specify either a DATA_SUBFOLDER (assumed within DATA_BASE for the application) OR a list of DATA_INPUT_FOLDERS instead. If you have a streaming application.
streaming if you have a streaming application, it’s recommended to define just the DATA_BASE, which should never change from /data (this is the host folder mapped to /data in the container). Optionally, you can set a variable DATA_SUBFOLDER and stream from there, and this is provided if you need to do quick changes to the path being processed without needing to redefine and recrease the image with docker-compose. Streaming is intended to be used with the application watcher previously discussed (note we have not used this yet in production).
# Optionally, parse a subfolder under /data, or set to None
DATA_SUBFOLDER="1_6"
batches if you have many batches to process, it’s recommended that you define the environment variable DATA_INPUT_SUBFOLDERS as a list of (full path) subfolders that
you want to add to the queue. With this strategy, you should not use the watcher, but instead the manage.py script start_queue.py (see start for details).
DATA_INPUT_FOLDERS=['/data/1_%s' %s for x in range(8) ] # /data/1_0 through /data/1_7
These folders should all start with paths relevant to /data.
Next, you should read a bit to understand the application.